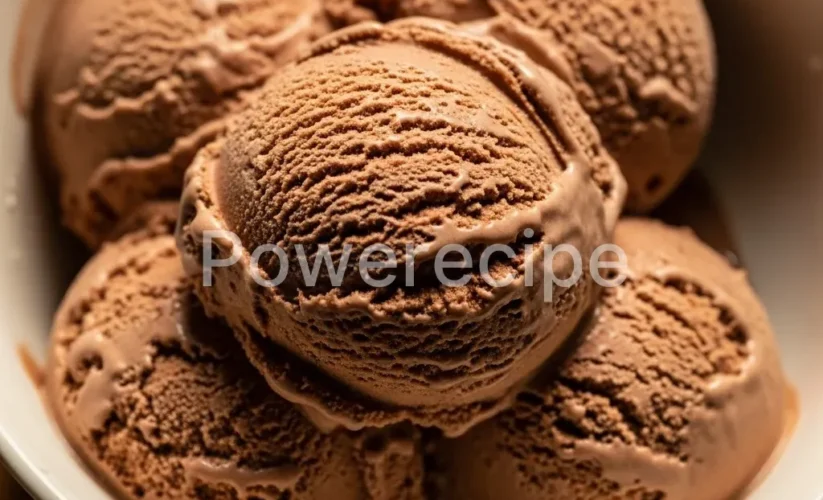
Costco Dubai Chocolate ice cream
When my eldest, Lily, first came home from a playdate absolutely raving about some magical chocolate ice cream she’d had, my ears perked right up. “Mommy, it was like a dream! So creamy, so chocolatey, and they said it was from Costco… from Dubai!” Her eyes were wide with wonder, and honestly, a little longing.
As a mom of three, I know that look. It’s the look that says, “Can we have that at home?” I’d heard whispers about the legendary “Costco Dubai chocolate ice cream,” a treat that seemed to carry an almost mythical status among parents and kids alike. It wasn’t just ice cream; it was an experience, a whisper of exotic indulgence right in the freezer aisle.
But getting our hands on that exact Costco Dubai chocolate ice cream in our local store? Not always possible, and certainly not cost-effective for a regular craving. So, I did what any food-loving mom does: I set out to recreate that magic in my own kitchen.
I wanted to capture the essence of that rich, velvety Costco Dubai chocolate ice cream, bringing its luxurious flavor profile right to our dinner table. After a bit of experimenting, a few delightful taste tests (my kids were *very* willing volunteers!), I finally landed on a recipe that truly delivers.
This isn’t just chocolate ice cream; it’s *our* homemade Costco Dubai chocolate ice cream, full of love, simplicity, and that irresistible deep chocolate flavor. Get ready to create a new family favorite that will have everyone asking for seconds.
Why You’ll Love This Costco Dubai Chocolate Ice Cream Recipe
You simply must try this incredible homemade rendition of Costco Dubai chocolate ice cream. First, it brings that coveted, luxurious taste right into your kitchen without a special trip. Imagine a perfectly balanced chocolate flavor – rich and intense, yet wonderfully smooth, just like the real deal.
Second, this recipe is surprisingly simple, even for those new to ice cream making. You control the ingredients, meaning you can choose high-quality cocoa and fresh cream, ensuring the best possible flavor for your Costco Dubai chocolate ice cream. Furthermore, making your own ice cream becomes a fun, engaging activity for the whole family.
Kids love watching the machine churn, and the anticipation builds with every rotation. Ultimately, you create more than just dessert; you craft a memory. This is not just any chocolate ice cream; it’s *your* very own version of the legendary Costco Dubai chocolate ice cream, made with love and care, ready to delight every spoonful.
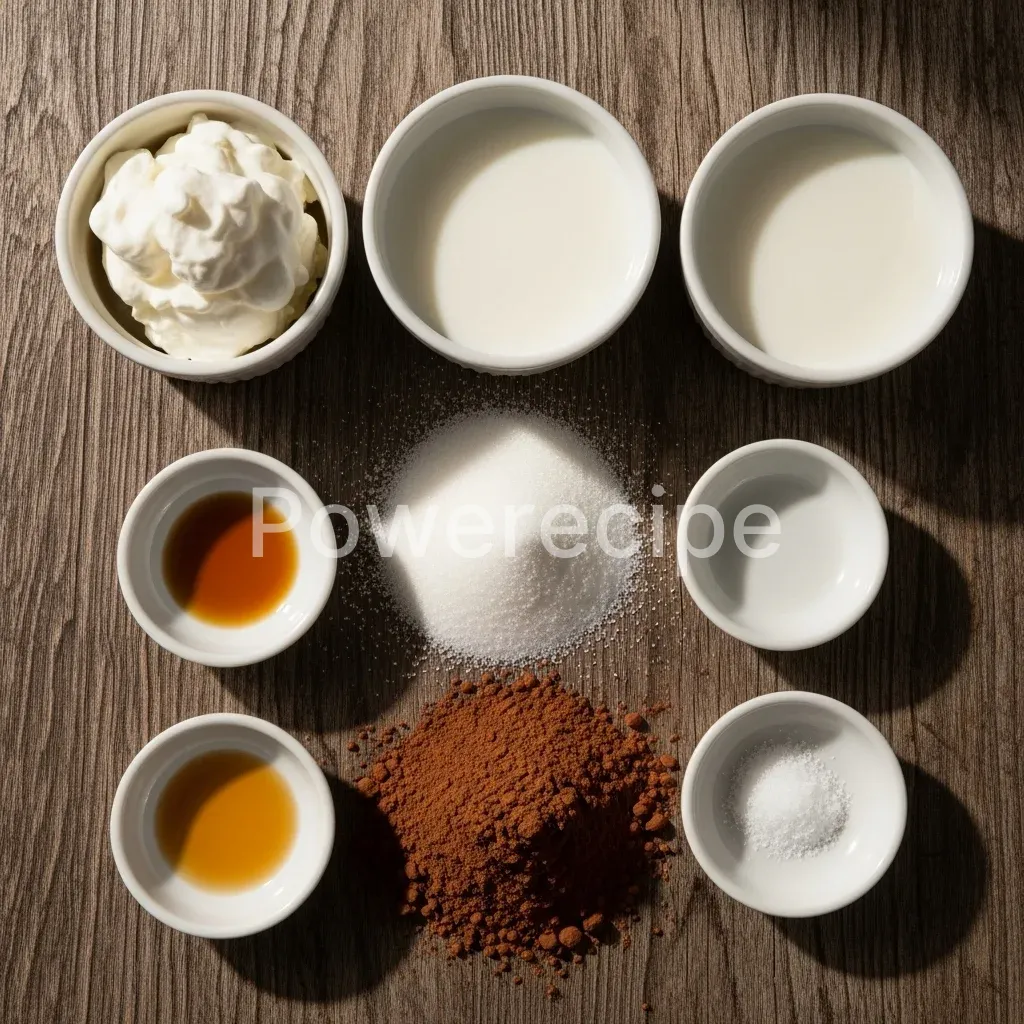
Ingredients You’ll Need
Making this luscious Costco Dubai chocolate ice cream requires just a few basic ingredients. High-quality components truly elevate the final taste, bringing that signature richness we all adore. Always opt for good cocoa powder and fresh dairy for the best results.
| Ingredient | Quantity | Notes |
|---|---|---|
| Heavy Cream | 2 cups (480ml) | Full-fat for ultimate creaminess |
| Whole Milk | 1 cup (240ml) | Helps achieve the perfect consistency |
| Granulated Sugar | ¾ cup (150g) | Adjust to your sweetness preference |
| Unsweetened Cocoa Powder | ½ cup (45g) | Dutch-processed for deeper chocolate flavor, or natural for a brighter taste |
| Vanilla Extract | 1 teaspoon | Pure vanilla extract makes a difference |
| Pinch of Salt | ¼ teaspoon | Enhances chocolate flavor |
Substitutions & Variations
One of the beautiful aspects of homemade Costco Dubai chocolate ice cream is its flexibility. You can easily adapt this recipe to fit various dietary needs or simply experiment with new flavors. Do not hesitate to make it your own!
* Dairy-Free Delight: For a delicious dairy-free version, substitute the heavy cream with full-fat coconut cream (chilled overnight, use the thick cream from the top of the can) and the whole milk with a creamy plant-based milk like oat milk or almond milk.
The texture will be slightly different but still incredibly satisfying, allowing everyone to enjoy a version of this Costco Dubai chocolate ice cream.
* Sweetener Swaps: If you prefer alternatives to granulated sugar, you can use maple syrup or agave nectar.
Start with ½ cup and adjust to taste, keeping in mind that liquid sweeteners might slightly alter the final texture. For a sugar-free option, use a granulated sugar substitute like erythritol or stevia.
* Intensify the Chocolate: For an even richer, deeper chocolate experience, add 1-2 tablespoons of brewed espresso or instant espresso powder to the mixture.
This amplifies the cocoa flavor without making the ice cream taste like coffee. Furthermore, stir in ½ cup of chocolate chips or chopped dark chocolate during the last few minutes of churning for delightful textural contrast in your Costco Dubai chocolate ice cream.
* Flavor Adventures: A tiny pinch of cinnamon or a dash of chili powder can add an unexpected depth and warmth, reminiscent of Mexican hot chocolate.
Alternatively, a swirl of caramel or peanut butter sauce after churning creates a fantastic flavor combination. Consider adding a teaspoon of almond extract for a subtle, nutty note that complements the chocolate beautifully in this Costco Dubai chocolate ice cream recipe.
* Nutty Additions: Fold in toasted chopped nuts like pecans, walnuts, or almonds at the end of the churning process for extra crunch and flavor.
One of the most appealing aspects of making ice cream at home is the freedom to customize it to suit various tastes and dietary requirements. For those exploring even more specialized dessert options, you’ll find a delightful array of choices in gluten egg free desserts that can satisfy any sweet craving.
Step-by-Step Instructions
Making your own Costco Dubai chocolate ice cream is a rewarding process, and I promise you, it’s simpler than you might think. Follow these steps for perfect, creamy results every time.
Note: This video is for demonstration purposes and may use a slightly different method.
1. Prepare Your Ice Cream Maker: First, ensure your ice cream maker’s freezer bowl is thoroughly chilled. Place it in the freezer for at least 12-24 hours before you plan to make the ice cream.
This crucial step guarantees proper churning and freezing.
2. Combine Dry Ingredients: In a medium saucepan, whisk together the granulated sugar, unsweetened cocoa powder, and salt.
Breaking up any cocoa lumps now prevents a grainy texture later.
3. Add Wet Ingredients: Next, pour in the heavy cream and whole milk.
Whisk everything together until the cocoa powder and sugar mostly dissolve into the liquid.
4. Heat the Mixture: Place the saucepan over medium heat.
Stir constantly, scraping the bottom of the pan, until the mixture just begins to simmer around the edges and steam rises. Do not allow it to boil vigorously; we simply want to warm it enough to dissolve the sugar and cocoa completely. This gentle heating also helps develop the chocolate flavor for your Costco Dubai chocolate ice cream.
5. Remove from Heat & Add Vanilla: Immediately remove the saucepan from the heat. Stir in the vanilla extract.
The warmth of the mixture will help the vanilla infuse beautifully.
6. Chill the Base: Transfer the chocolate mixture to an airtight container or a bowl covered with plastic wrap.
Chill the mixture thoroughly in the refrigerator for at least 4 hours, or preferably overnight. A well-chilled base is essential for a smooth, creamy Costco Dubai chocolate ice cream. This step significantly impacts the final texture.
7. Churn the Ice Cream: Once your base is completely chilled, pour it into your pre-chilled ice cream maker bowl. Follow your manufacturer’s instructions for churning.
Typically, this takes about 20-30 minutes, or until the ice cream reaches the consistency of soft-serve. It will look like a very thick milkshake at this stage.
8.
Final Freeze (Ripening): Transfer the soft-serve consistency ice cream to a freezer-safe container. Press a piece of parchment paper directly onto the surface of the ice cream to prevent ice crystals from forming. Cover the container tightly and freeze for another 2-4 hours, or until it reaches a firm scoopable consistency.
This “ripening” step truly perfects the texture of your homemade Costco Dubai chocolate ice cream.
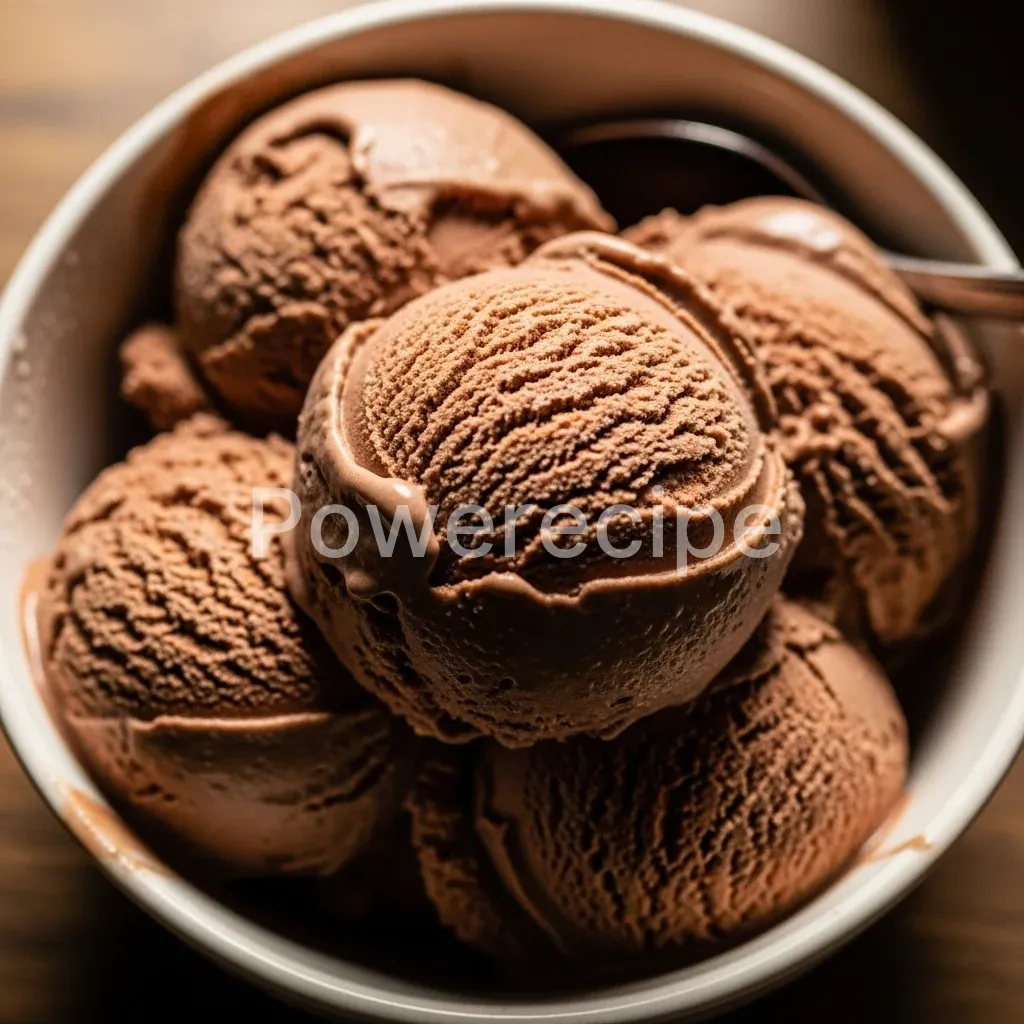
9. Serve and Enjoy: Scoop and serve your glorious homemade Costco Dubai chocolate ice cream!
Pro Tips for Success
Achieving that perfect, creamy Costco Dubai chocolate ice cream texture at home requires a few simple tricks. These tips will help you elevate your homemade treat from good to absolutely fantastic.
* Chill Your Base Thoroughly: This is arguably the most critical step for any homemade ice cream, especially for a rich Costco Dubai chocolate ice cream. A colder base means less time in the churning machine, resulting in smaller ice crystals and a smoother, creamier final product. Do not rush this chilling process; overnight is always best.
* Quality Ingredients Matter: Since this recipe uses minimal ingredients, the quality of each one shines through. Invest in good quality heavy cream, whole milk, and especially a premium unsweetened cocoa powder. Dutch-processed cocoa typically yields a darker color and a mellower, richer chocolate flavor that mimics the depth of store-bought Costco Dubai chocolate ice cream.
* Don’t Overfill Your Machine: Most ice cream makers have a maximum fill line. Adhere to it! The mixture will expand as it churns and incorporates air.
Overfilling can lead to an uneven churn and a less creamy texture for your Costco Dubai chocolate ice cream.
* Pre-Chill Your Storage Container: Before transferring your freshly churned soft-serve, place your freezer-safe storage container in the freezer for about 15-30 minutes. This helps prevent the ice cream from melting even slightly as you transfer it, contributing to a smoother texture when it fully freezes.
* Use a Shallow Container for Freezing: When freezing the churned ice cream, opt for a wider, shallower container rather than a deep, narrow one. This allows the ice cream to freeze more quickly and evenly, minimizing ice crystal formation and ensuring a better texture for your Costco Dubai chocolate ice cream.
* Let it Soften Slightly Before Serving: For the best scooping experience and flavor release, remove your Costco Dubai chocolate ice cream from the freezer about 5-10 minutes before serving. This allows it to soften just enough to become perfectly pliable and creamy.

Just as mastering the perfect creamy texture for homemade ice cream brings immense satisfaction, other dishes also demand specific techniques for optimal results. If you’re looking for another recipe that focuses on achieving tender, flavorful results with minimal effort, you might enjoy learning how to make a delicious turkey tenderloin in a crock pot for your next family meal.
Storage & Reheating Tips
While the concept of “reheating” ice cream sounds a bit odd, proper storage ensures your homemade Costco Dubai chocolate ice cream stays delicious and creamy for as long as possible.
* Airtight is Key: Always store your homemade Costco Dubai chocolate ice cream in an airtight, freezer-safe container. This prevents freezer burn and keeps unwanted odors from infiltrating your delicious dessert. Glass containers with tight-fitting lids work wonderfully, or you can use high-quality plastic containers.
* Prevent Ice Crystals: To further protect your ice cream from ice crystals, place a piece of plastic wrap or parchment paper directly on the surface of the ice cream before sealing the container. This creates an extra barrier against air exposure.
* How Long Does It Last?
Properly stored, homemade Costco Dubai chocolate ice cream maintains its best quality for about 2-3 weeks in a standard home freezer. Beyond that, its texture might become a bit icier, though it will still be safe to eat for up to 2 months.
* Serving from Frozen: When you are ready to enjoy your Costco Dubai chocolate ice cream, take it out of the freezer about 5-10 minutes before scooping.
This brief time on the counter allows it to soften slightly, making it much easier to scoop and providing a more pleasant, creamy mouthfeel. Avoid letting it sit out too long, as repeated thawing and refreezing can degrade the texture.
What to Serve With This Recipe
This homemade Costco Dubai chocolate ice cream is a star on its own, but pairing it with the right accompaniments can elevate it into an unforgettable dessert experience.
* Classic Toppings: You simply cannot go wrong with classic ice cream toppings. A drizzle of warm hot fudge sauce, a swirl of salted caramel, a sprinkle of rainbow sprinkles, or some chopped nuts (pecans, walnuts, almonds) all complement the rich Costco Dubai chocolate ice cream beautifully.
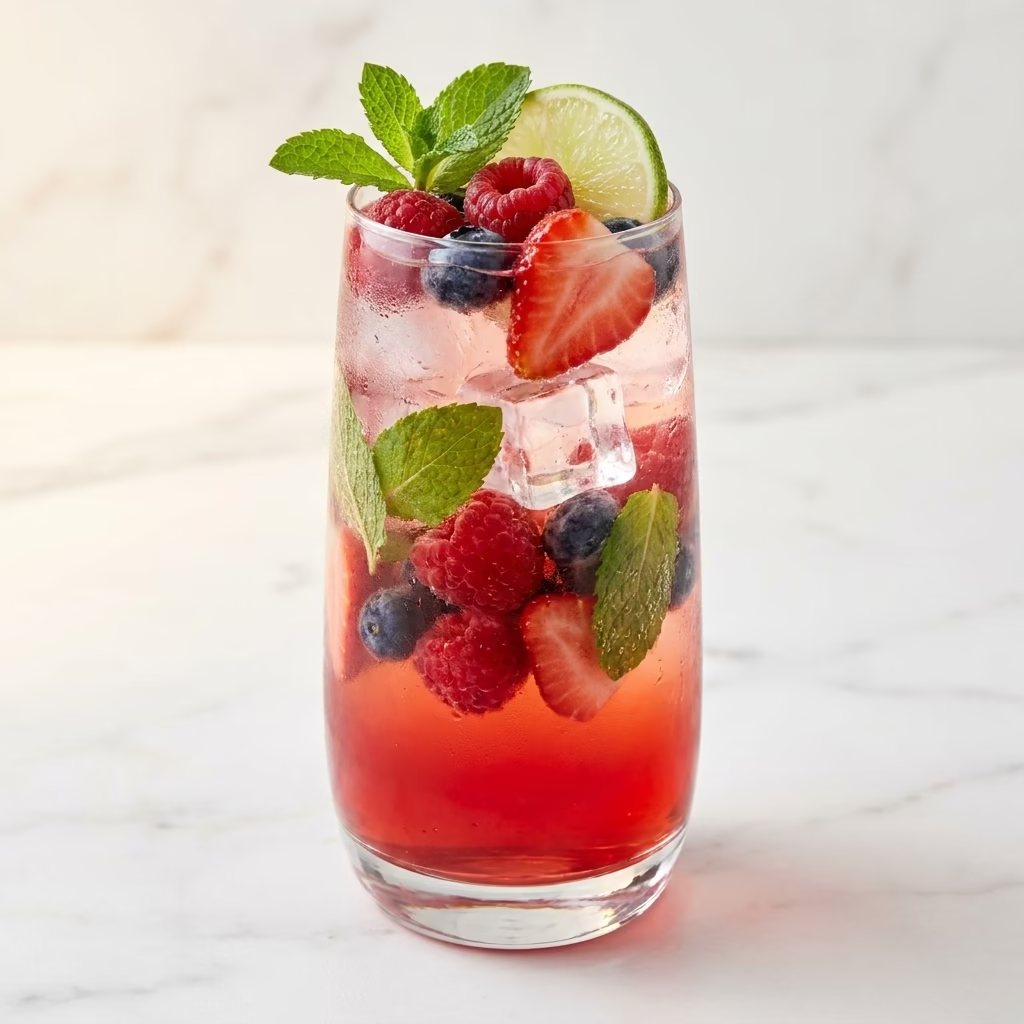
* Fresh Fruit: The intense chocolate flavor truly shines alongside fresh, vibrant fruits.
Think sliced strawberries, raspberries, or even banana slices. The natural sweetness and slight tartness of the fruit provide a wonderful contrast to the creamy Costco Dubai chocolate ice cream.
* Baked Goods: Serve a scoop of this luxurious Costco Dubai chocolate ice cream alongside a warm brownie, a slice of apple pie, or a soft chocolate chip cookie.
The combination of warm, comforting baked goods and cold, decadent ice cream is pure bliss. Consider making mini lava cakes for a truly indulgent pairing with your Costco Dubai chocolate ice cream.
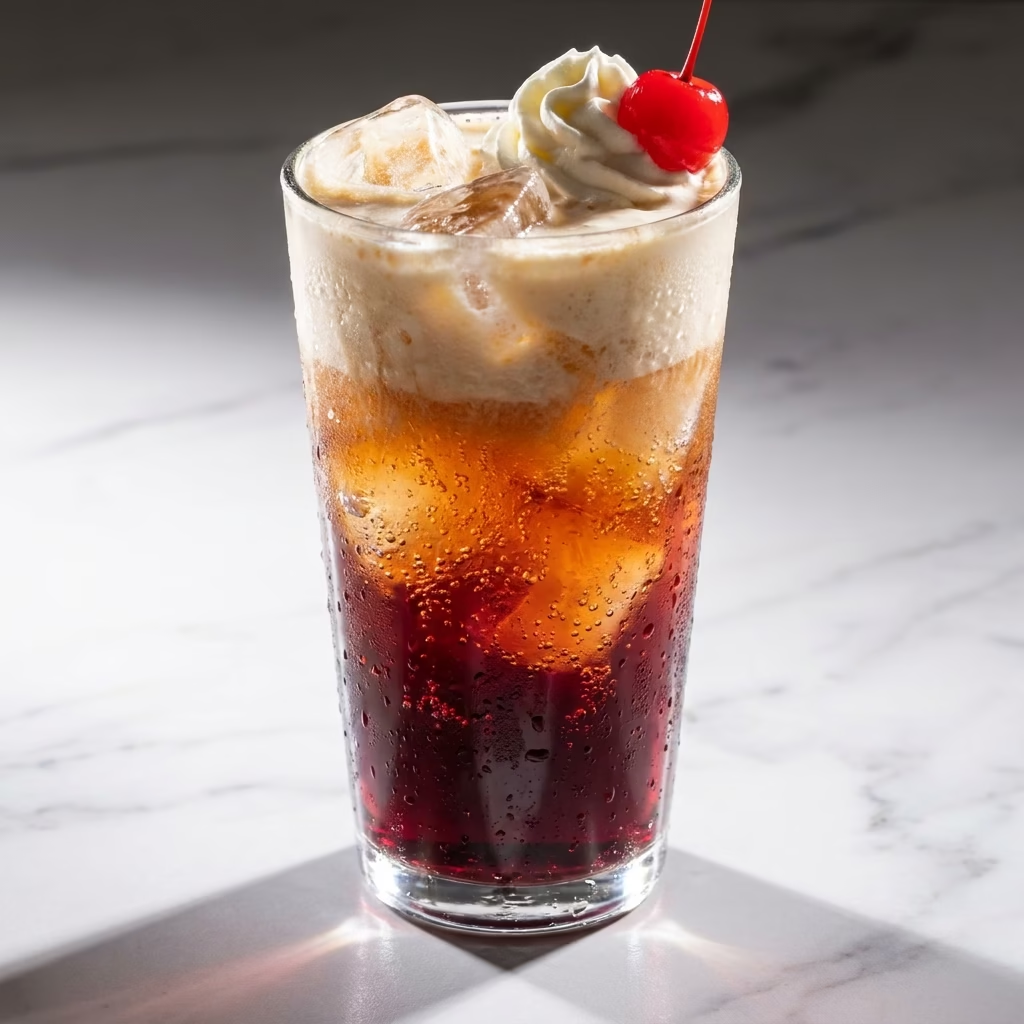
* Whipped Cream & Cherry: For a classic sundae presentation, top your scoops with a dollop of freshly whipped cream and a bright red maraschino cherry.
It’s simple, elegant, and always a crowd-pleaser, especially with a dessert as special as this Costco Dubai chocolate ice cream.
* Espresso Shot (Affogato Style): For an adult twist, pour a hot shot of espresso over a scoop of Costco Dubai chocolate ice cream. The bitter coffee cuts through the sweetness and enhances the chocolate notes, creating a sophisticated and delicious treat. This truly highlights the depth of your homemade Costco Dubai chocolate ice cream.
While classic toppings beautifully complement this rich chocolate ice cream, exploring a wider range of dessert options can broaden your culinary horizons. For instance, if you’re seeking a creamy and satisfying treat that caters to specific dietary preferences, consider trying a delightful dairy-free egg custard.
FAQs
What makes this Costco Dubai chocolate ice cream unique?
This homemade Costco Dubai chocolate ice cream aims to replicate the intensely rich, deeply chocolatey, and incredibly creamy texture found in the highly sought-after product from Costco in Dubai. We focus on high-quality cocoa and a balanced dairy base to achieve that luxurious, melt-in-your-mouth experience that makes the original so beloved. It truly captures the essence of that special Costco Dubai chocolate ice cream.
Do I need an ice cream maker for this recipe?
Yes, an ice cream maker is highly recommended for achieving the smoothest, creamiest texture for this Costco Dubai chocolate ice cream. While no-churn methods exist for other recipes, this particular recipe relies on the churning process to incorporate air and prevent large ice crystals, which is crucial for replicating the desired consistency of store-bought Costco Dubai chocolate ice cream.
Can I make this Costco Dubai chocolate ice cream ahead of time?
Absolutely! In fact, making this Costco Dubai chocolate ice cream ahead of time is ideal. The base needs several hours to chill thoroughly, and the churned ice cream benefits from at least 2-4 hours (or overnight) in the freezer to firm up to a scoopable consistency. This makes it a perfect make-ahead dessert for parties or special occasions.
Is this recipe exactly like the store-bought Costco Dubai chocolate ice cream?
While it strives to capture the essence and luxurious qualities of the store-bought Costco Dubai chocolate ice cream, it is a homemade rendition. It offers a similar profile of intense chocolate and supreme creaminess, but as with all homemade versus store-bought items, there can be subtle differences. However, we believe it delivers a truly delicious and satisfying homemade Costco Dubai chocolate ice cream experience.
Can I use natural cocoa powder instead of Dutch-processed?
Yes, you can certainly use natural unsweetened cocoa powder. It will still make a delicious Costco Dubai chocolate ice cream. However, Dutch-processed cocoa typically offers a darker color and a milder, less acidic chocolate flavor, which many find closer to the rich profile of commercial chocolate ice creams, including the renowned Costco Dubai chocolate ice cream.
The allure of a specific food item, like the famed Costco Dubai chocolate ice cream, often transcends its simple ingredients, becoming a cultural phenomenon. These distinct flavors and convenient ready-to-eat options highlight the global appeal and diverse forms of frozen desserts available worldwide.
Nutrition Information (per serving)
Please note: This nutrition information is an estimate based on the ingredients listed and assumes 8 servings per recipe. Actual values may vary depending on specific brands, exact measurements, and any substitutions or additions.
| Nutrient | Amount |
|---|---|
| Calories | 320 kcal |
| Total Fat | 25g |
| Saturated Fat | 16g |
| Cholesterol | 95mg |
| Sodium | 50mg |
| Total Carbohydrates | 24g |
| Dietary Fiber | 2g |
| Total Sugars | 21g |
| Protein | 4g |
costco dubai chocolate ice cream
Recreate the legendary 'Costco Dubai chocolate ice cream' at home with this simple recipe. It delivers an intensely rich, deeply chocolatey, and incredibly creamy texture, just like the beloved original. Made with high-quality cocoa and fresh dairy, this homemade treat is a luxurious indulgence perfect for a family favorite.
- Prep Time: 15 mins
- Cook Time: 25 mins
- Total Time: 6 hours 40 minutes
- Yield: 8 servings
- Category: Dessert
- Method: Freezing
- Cuisine: American
- Diet: Gluten Free
Ingredients
2 cups (480ml) Heavy Cream
1 cup (240ml) Whole Milk
¾ cup (150g) Granulated Sugar
½ cup (45g) Unsweetened Cocoa Powder
1 teaspoon Vanilla Extract
¼ teaspoon Salt
Instructions
- Prepare Your Ice Cream Maker: Ensure your ice cream maker's freezer bowl is thoroughly chilled by placing it in the freezer for at least 12-24 hours
- Combine Dry Ingredients: In a medium saucepan, whisk together the granulated sugar, unsweetened cocoa powder, and salt, breaking up any cocoa lumps
- Add Wet Ingredients: Pour in the heavy cream and whole milk. Whisk everything together until the cocoa powder and sugar mostly dissolve into the liquid
- Heat the Mixture: Place the saucepan over medium heat. Stir constantly until the mixture just begins to simmer around the edges and steam rises. Do not allow it to boil vigorously
- Remove from Heat & Add Vanilla: Immediately remove the saucepan from the heat and stir in the vanilla extract
- Chill the Base: Transfer the chocolate mixture to an airtight container or a bowl covered with plastic wrap. Chill thoroughly in the refrigerator for at least 4 hours, or preferably overnight
- Churn the Ice Cream: Once the base is completely chilled, pour it into your pre-chilled ice cream maker bowl. Follow manufacturer's instructions for churning (typically 20-30 minutes) until it reaches a soft-serve consistency
- Final Freeze (Ripening): Transfer the soft-serve consistency ice cream to a freezer-safe container. Press parchment paper directly onto the surface, cover tightly, and freeze for another 2-4 hours, or until firm
- Serve and Enjoy: Scoop and serve your glorious homemade Costco Dubai chocolate ice cream!
Notes
Chill Your Base Thoroughly: A colder base means less time in the churning machine, resulting in smaller ice crystals and a smoother, creamier final product. Overnight chilling is always best.
Quality Ingredients Matter: Use good quality heavy cream, whole milk, and a premium unsweetened cocoa powder, preferably Dutch-processed for a darker color and mellower flavor.
Pre-Chill Your Storage Container: Before transferring freshly churned soft-serve, place your freezer-safe storage container in the freezer for 15-30 minutes to prevent melting.
Let it Soften Slightly Before Serving: For best scooping and flavor, remove ice cream from the freezer about 5-10 minutes before serving.